

Scheduling Campaign
We have all had those late nights - working on a campaign, but wished we could send it to arrive the next morning. With Gatsby’s new Schedule Campaign, you don’t have to get up early to send that campaign anymore! Draft it the night before - and it will automatically be sent for you! Let’s show you how!
Steps to Scheduling a Campaign
-

Step One
Navigate to any event or group. Click on the New Campaign button.
-

Step Two
Select the radio button entitled “Create Campaign to send later”. Hit Continue.
-

Step Three
Draft your message and hit Create Campaign, preview your campaign and hit create campaign to confirm.
-

Step Four
Your Campaign will now appear in your campaigns (not drafts). Click on ‘Not sent to’ and select the guests you want to send the Campaign to.
-
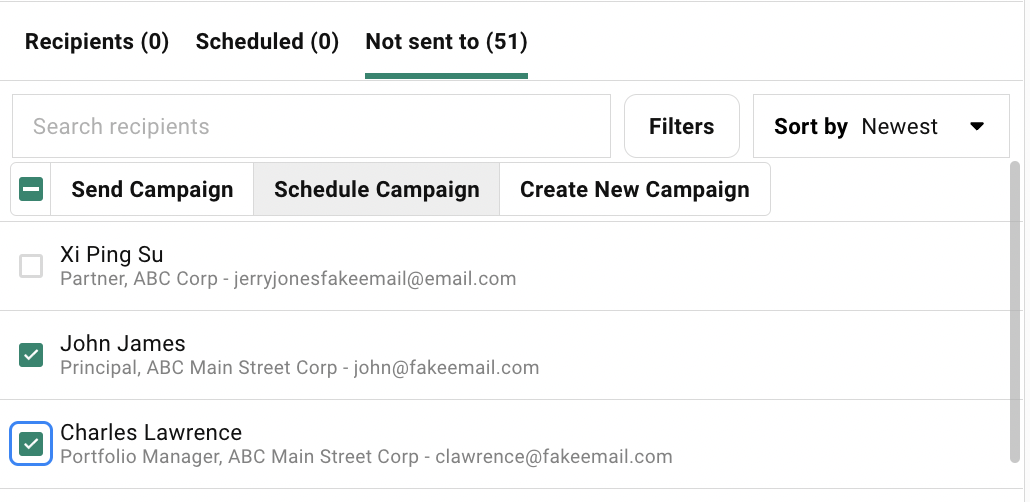
Step Five
Once you select all of your Guests, select “Schedule Campaign”.
-

Step Six
This will open an area where you can set your date and time. Use the drop down to set the date/time of your send and click Schedule at the bottom.
-

Step Seven
You will now see your Scheduled send under the Scheduled Tab inside a campaign. And now you wait - it will send at the date and time you set.